Advanced Alpine.js, Part I: The Story So Far
6 December 2021
Posts in This Series
- Part I: The Story So Far (This post)
- In which we review some basics about Alpine.js
- Part II: Moving Beyond HTML
- In which we refactor our app and add filtering
- Part III
- Coming soon!
- Part IV
- Coming soon!
- Part V
- Coming soon!
Recently, I’ve been spending a lot of time with Alpine.js, a self-proclaimed “rugged, minimal” JavaScript tool that sprinkles behavior on top of rendered HTML. This is the kind of technology I wished for—and briefly experimented with—in the bygone days of back-end-language-rendered HTML before single-page apps became the norm. Though Alpine isn’t as full-featured as other frameworks, I’ve found it refreshingly easy to work with, and perfect for proof-of-concept apps.
In this series, we’ll look at some advanced workflows with Alpine by building out a music playlist app. We’ll start by setting up Alpine (a shockingly trivial thing to do), then add some features, a build system, and finally, some testing. The final code is available on GitHub if you’d like to take a peek before we begin. Let’s dive in!
What we’re building
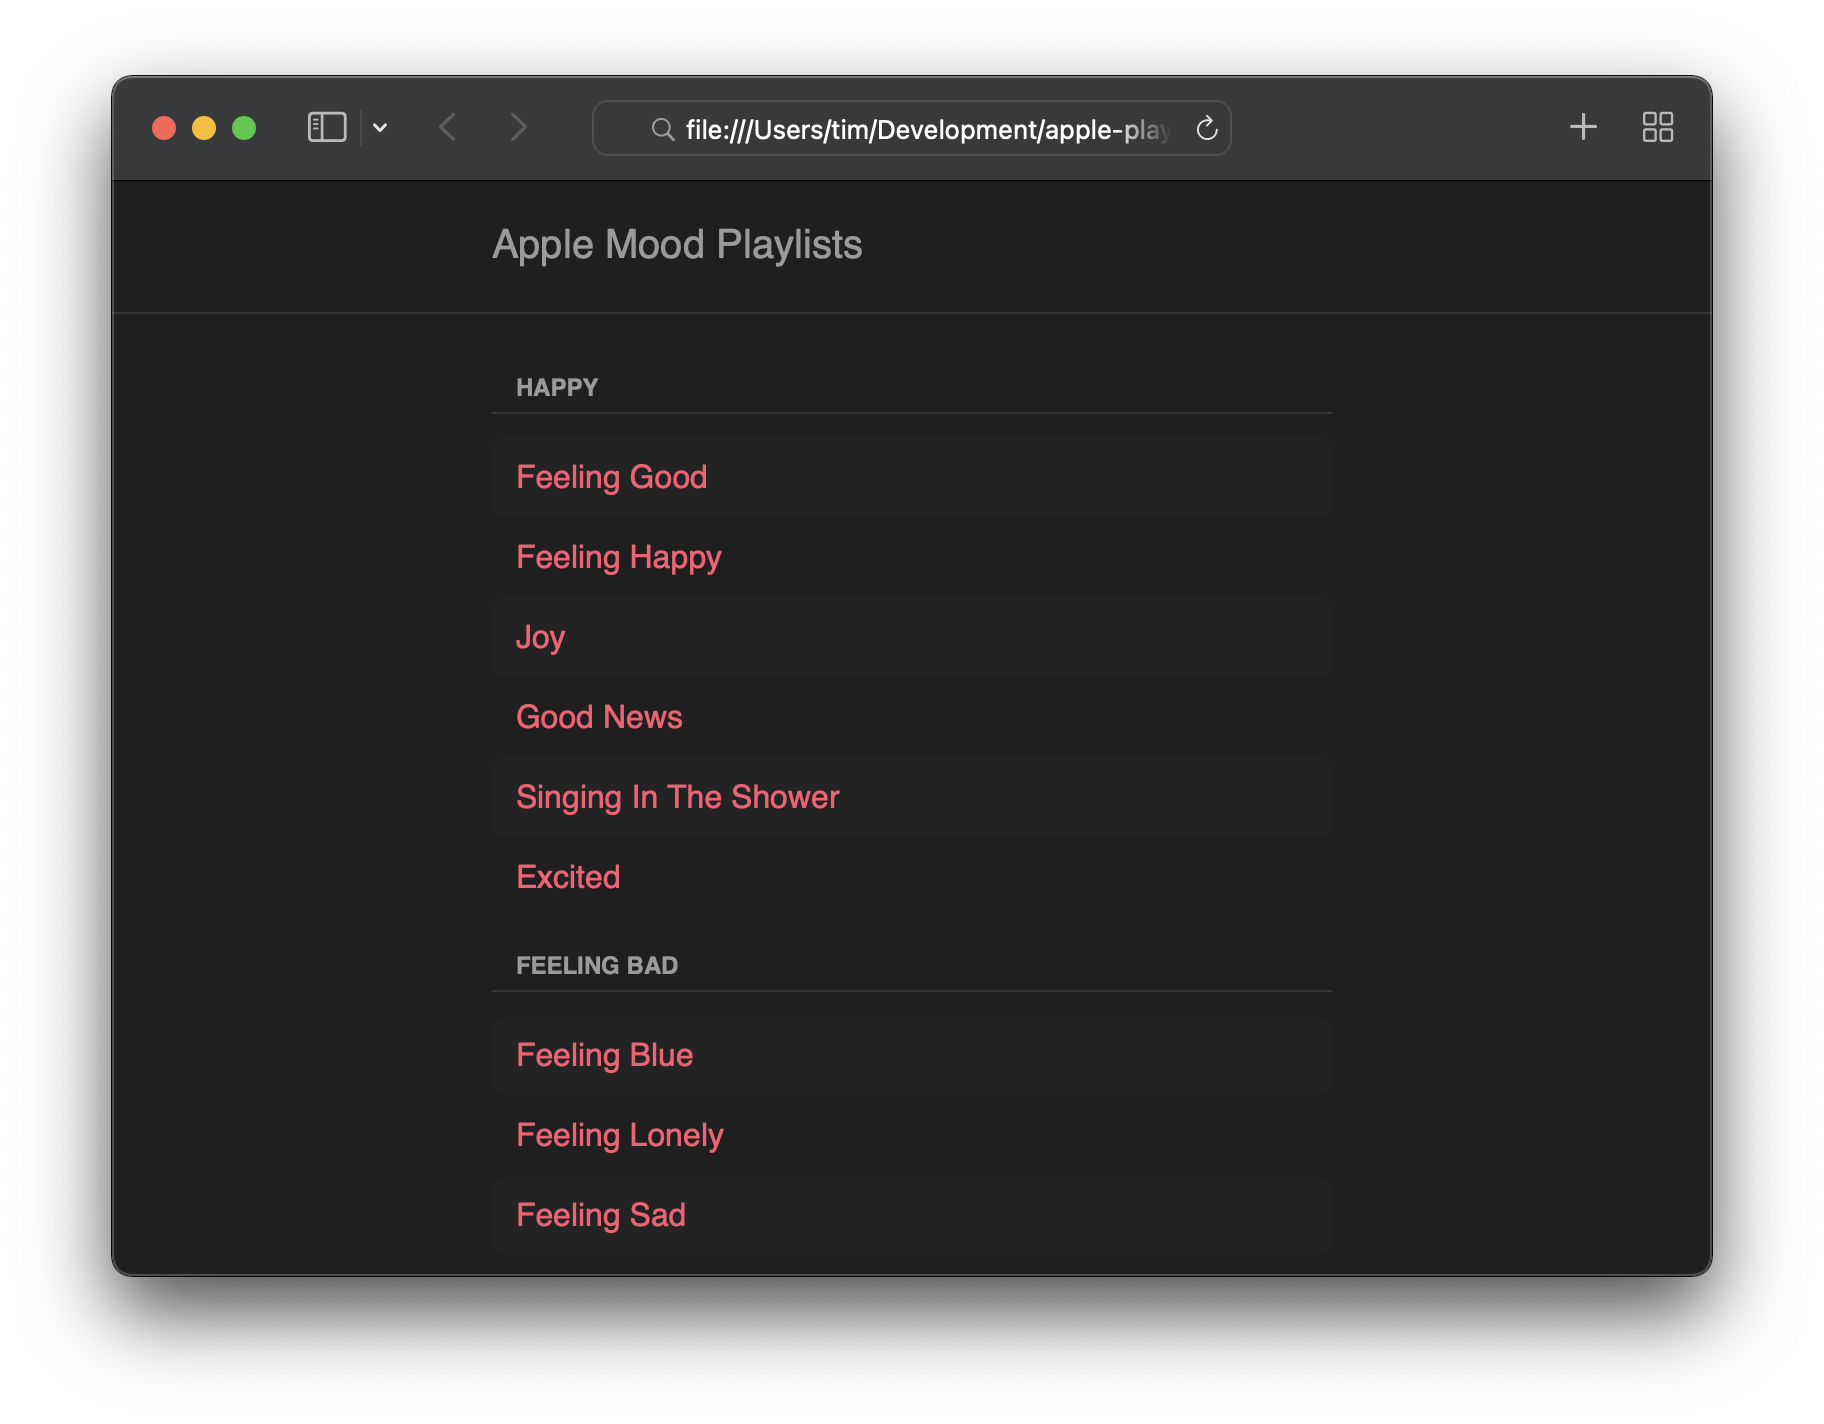
Like many developers, I love listening to music while I code. Also like many developers, I hate being interrupted while I’m focused…like when I need to find a new album to listen to after the current one ends, for example. Thankfully, playlists have been part of the streaming music streaming since the very beginning, and solve this problem nicely. Recently, Apple announced some curated (and constantly-updated) playlists for “moods”, and I’ve been a huge fan of every one I’ve listened to.
Unfortunately, as of this writing, Apple hasn’t published this list, and their discoverability is limited to asking Siri to “play the dinner party playlist”. Thankfully, MacStories took the initiative to document as many as they could find, but we can do better!
Our Alpine app will display these playlists, roughly categorized (thanks again to MacStories for the grouping), but also allow us to search for playlists and “favorite” some so we can easily find them later.
An Alpine Climb
If you’re brand-new to Alpine, I strongly suggest working through their tutorials. It’s quite remarkable how trivial it is to get started with Alpine: A single <script> tag is really all you need!
For our app, we’ll start with just two files: An HTML page and a JavaScript file containing a static list of the playlists (there are just over 250 of them, so this helps keep our other code clean). Following the conventions of the Alpine docs, our HTML file looks something like this:
<html> |
The data file creates a global variable for the playlists that we can reference from the app. Though global variables aren’t a good practice, this one will work for for the moment, and we’ll fix this issue in a later part of this series.
For this app, we’ll need two pieces of information to uniquely identify each playlist (an ID and a slug, which I’ve pulled from each playlist’s URL), as well as a group name (again, from the general grouping provided by MacStories):
window.data = [ |
Listing the Playlists
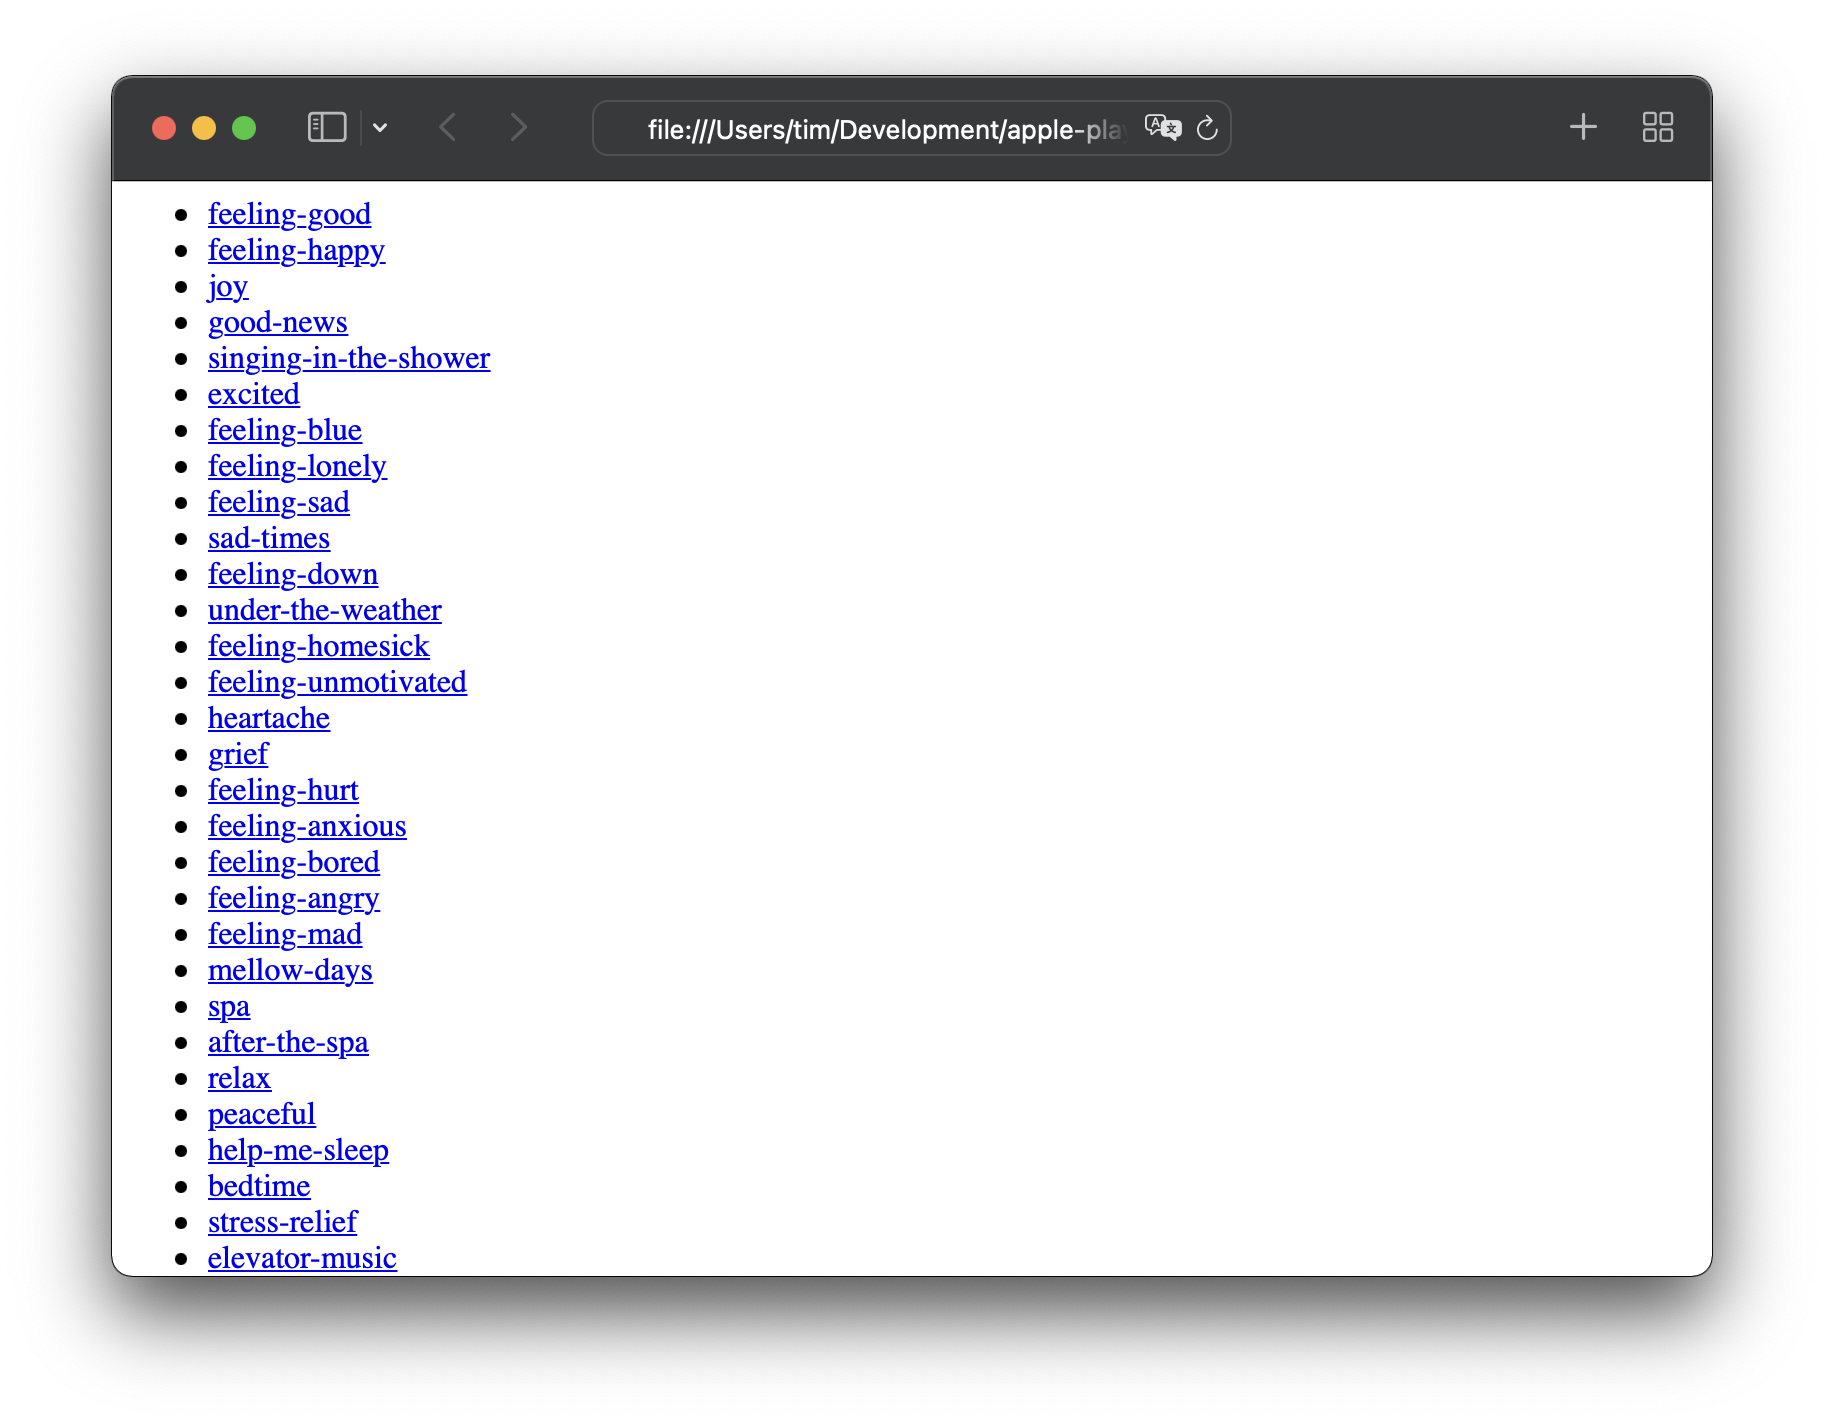
We’ll start building the app proper by showing a basic list of each playlist, and adding URLs so they can be clicked to open each playlist in Apple Music. We’ll use a combination of Alpine’s x-data, x-for, and x-text directives to render a list of each playlist’s slug:
<ul x-data> |
Alpine uses x-data to identify which parts of the page require interactivity, so we’ll add that to our <ul>, even though we’re referencing the playlist array directly in the x-for directive. You could also add a proxy variable inside x-data if you choose (i.e. <ul x-data="{ playlists: window.data }">), which is a testament to Alpine’s flexibility when integrating with existing HTML.
Just showing playlists’ slugs isn’t very useful, so let’s add links so users can open each playlist. For this, we’ll use the x-bind directive (more accurately, its shorthand of :<attribute>) to populate each playlist’s href attribute. Alpine lets us use plain JavaScript expressions (be sure to read up on the security implications), so a string interpolation to translate a playlist’s ID and slug into a correct URL is straightforward:
<li> |
Of course, a flat list of 250+ playlist slugs isn’t a great experience, but to improve that, we’re going to need a little help…
(Lo)Dashing up the Mountain
Lodash is a fantastic utility library that comprises a large number of useful functions. It’s worthy of its own blog series, but we’re going to use only two of its many helpers: startCase(), which converts a slug into something more human-readable, and groupBy(), which, well, groups the playlists by a given key (in our case, we’re using group).
Adding Lodash to our app is as simple as inserting another <script> tag into our <head>; we can use the same CDN as Alpine itself:
<script src="https://unpkg.com/lodash@4.x.x/lodash.js"></script> |
…and humanizing our slugs is nearly as straightforward:
<li> |
Grouping the playlists is slightly more complex, but only just. Lodash’s groupBy() function’s return value is an object with the group names as keys; for example, our example data from above would get grouped thusly:
{ 'Seasons and Weather': [ { ... }, { ... }, { ... }, { ... } ] } |
Built-in functions like Object.entries() could help us out here by converting this object to an array, but I’ve found Alpine is capable of iterating objects on its own. Be warned, though: I haven’t found any official documentation suggesting this is a supported feature, so it’s possible it will break in future releases, or behave strangely. That said, we can use a similar template as we’ve used above for the groups:
<ul x-data> |
Ah, but now we have a list of 250+ playlists and a list of about twenty groups. So how can we put the two together? Spoiler alert: Quite easily! We can nest the x-for for the playlists (and its associated <template>) inside the one for the grouping:
<ul x-data> |
We’ve now got a lovely nested list of grouped playlists and the playlists themselves:
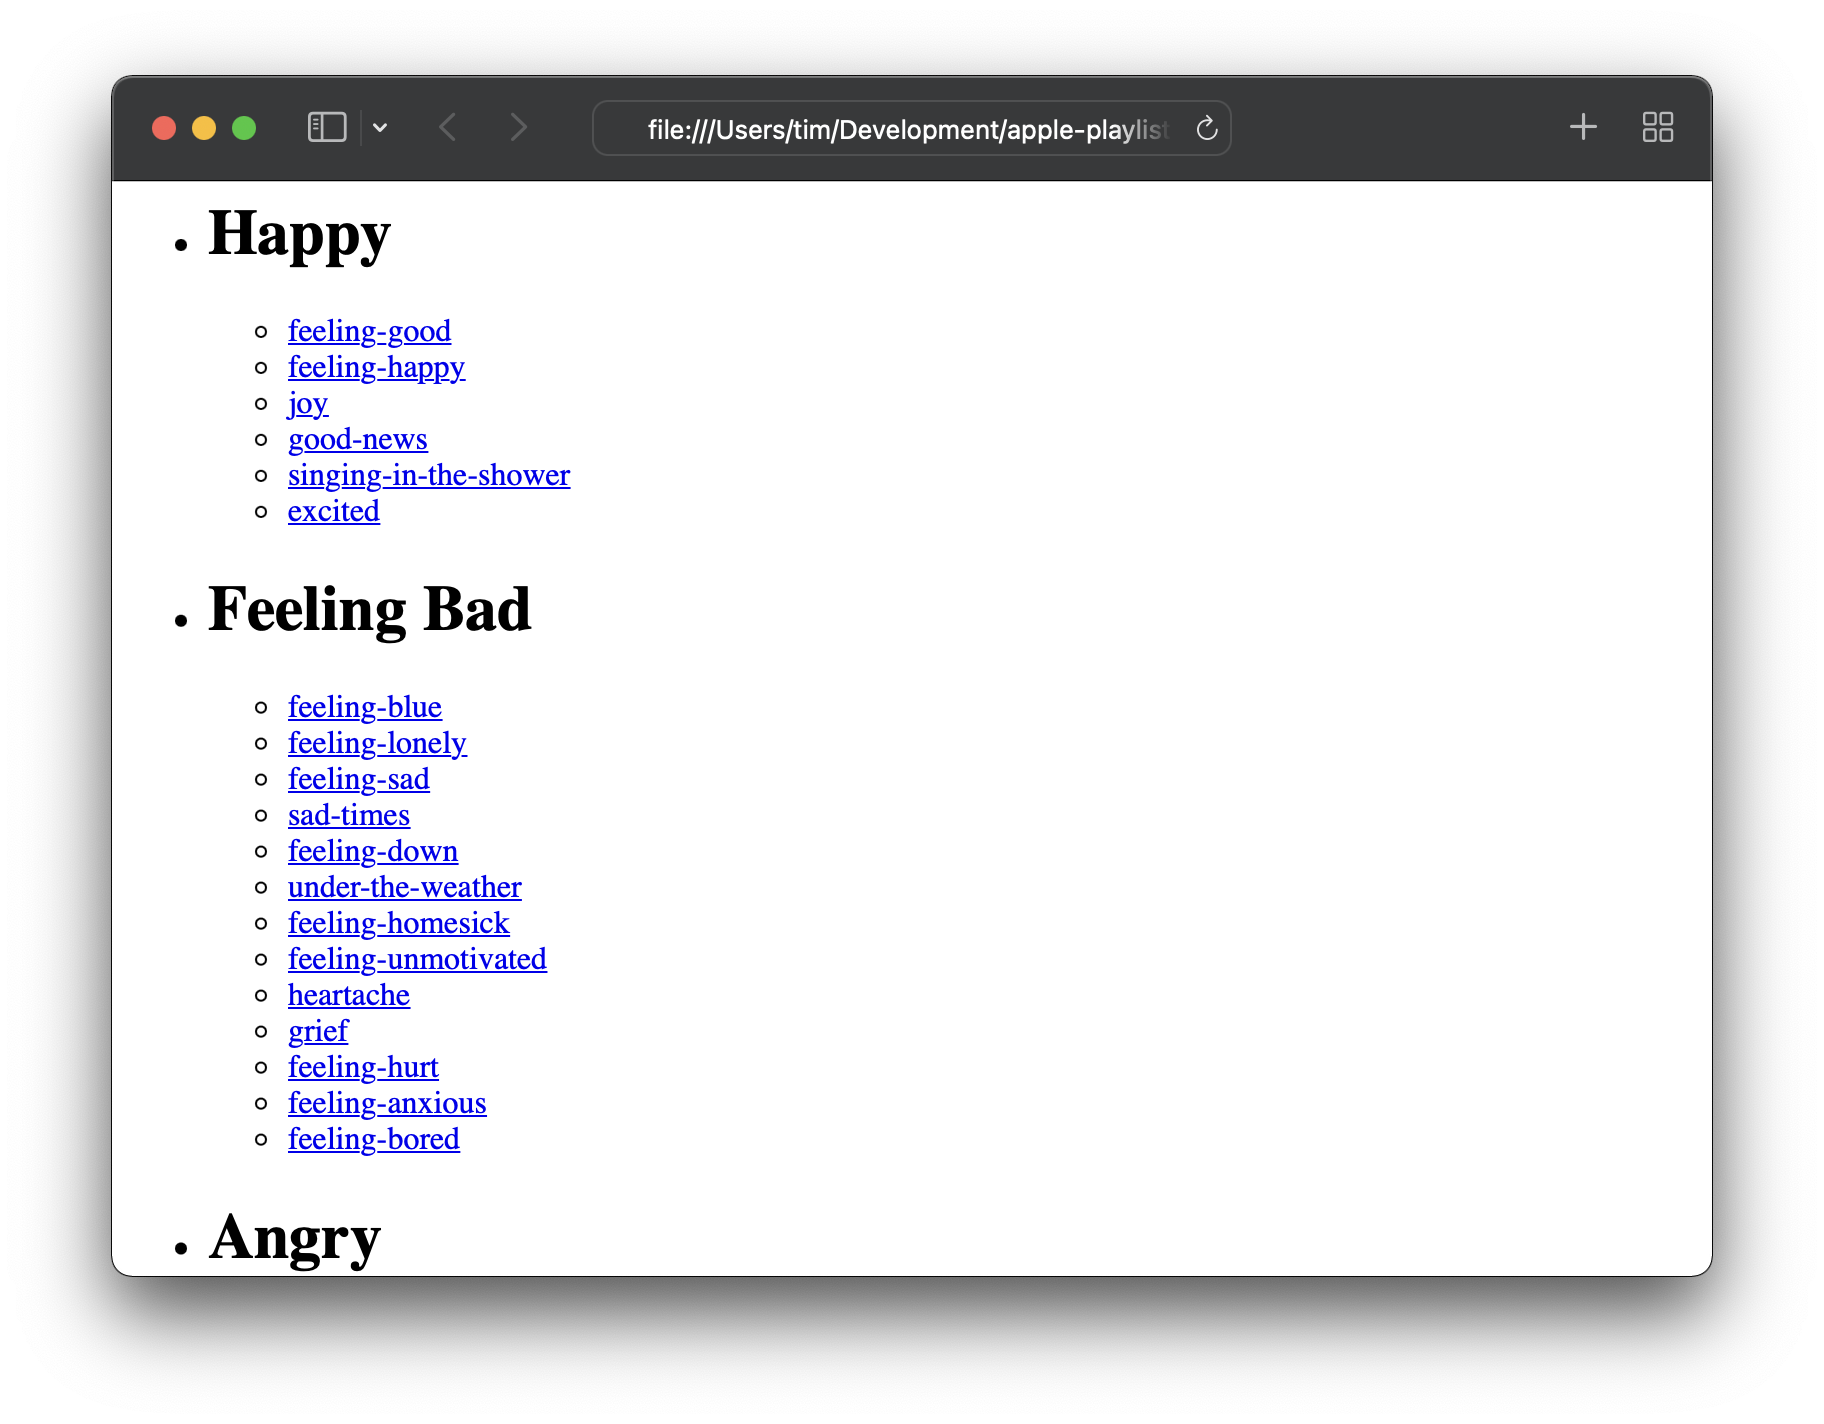
Throw in a bit of styling, and we have ourselves a great mini-app for finding our favorite Apple “mood” playlists! If you’ve been following along, you may have noticed something interesting: Excepting the data file and the sprinkling of Alpine code, this app contains zero JavaScript! Everything’s done within Alpine’s directives.
Next Up: More Features!
In the next post in the series, we’ll expand our simple app with some quality-of-life features: Filtering the playlists by name, and “favoriting” some so we can easily get back to our most-loved moods. Until next time!