Installing Ember CLI on Windows
19 July 2015
Yesterday, I made a huge mistake: I decided to install Ember CLI on a brand-new Windows installation. Over two hours later, I was finally able to build and run an Ember CLI project. I’d like to share some of that process with you, and perhaps save you some of the headaches I encountered.
Installing Ember CLI
Before I begin, some bad news: when I began this arduous journey, I didn’t realize how difficult it would become, so I neglected to document most of the error messages I received. If I’m feeling masochistic and ever try this again, I’ll update this post with more detailed errors.
Also, I based this post on my experiences, so your mileage may vary (and I certainly hope it does). For reference, I’m using Windows 7 Ultimate, 64-bit. Let’s get started:
- npm. On Windows, nested packages in
node_modulesoften overflow Windows’s file path length limitations. To bypass this restriction, the npm 3 (beta) stores modules in a flat structure. I didn’t install this at first, and soon ran into issues. To get npm 3, install Node, then use thenpm-windows-upgradepackage to upgrade it. One caveat: the package’s README implies you should run the upgrade in an Administrator console, but this later caused several permissions errors. Everything worked as expected when I ran the command in a non-Admin window. - Python. One of Ember CLI’s dependencies,
node-gyp, requires Python. If you’re unfamiliar with the Python ecosystem, there are two major, and somewhat-incompatible, versions. The package doesn’t state which version it needs, but it will complain if you’ve installed the wrong one. You’ll want some flavor of 2.x (I used the newest as of this writing, 2.7.10). - Visual Studio. Yep, you read that right: you need Visual Freaking Studio to build Ember apps on Windows.
node-gyponly requires some of VS’s C++ compilers, but a full install is the reliable way to get those. A free version is available (I used the recommended “Visual Studio 2013 Express for Windows Desktop”), but set aside at least an hour to find, download, and install it. Oh, and say “goodbye” to a clean “Programs and Features” screen after you’re done: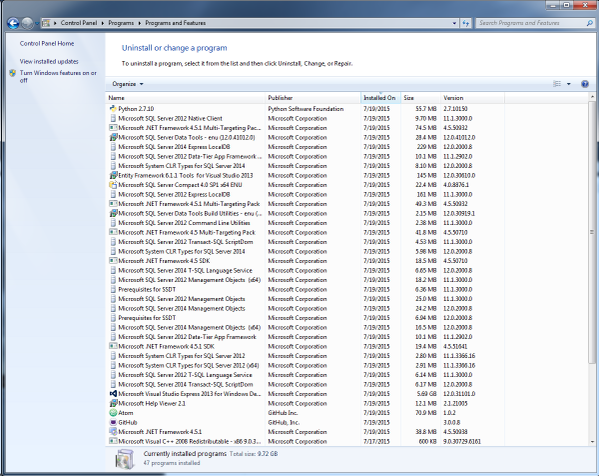
- Bower. You’ll also need Bower for browser-side package management, but this was a painless installation for me. Just
npm install bower -gand you should be good to go.
Building an Ember CLI Project
At this point, I was about 90 minutes into the process…but I wasn’t done yet. After installing Ember CLI, you’ll need to install a project’s npm and Bower dependencies (with npm install and bower install, respectively). The Bower packages installed fine, but npm’s were another story:
- Folder permissions. I encountered several npm
EACCESerrors when installing a project’s dependencies, stating that I didn’t have permissions forC:\Program Files\nodejs. This is an easy fix on OSes that havechown, but I had to use Windows’s infamous “Security” UI instead. Though my user account is a member of the “Administrators” group, which has access to that folder, that’s not enough: I needed to give my user account full access to thenodejsfolder and its children. The permissions errors disappeared after that. - Disconnections. Once the permissions errors cleared up, I started receiving
ECONNRESETerrors a few seconds into downloading npm packages. Re-runningnpm installsometimes worked, but changing the npm registry to a non-HTTPS version solved the issue.
Finally, two hours after I began, I was able to build and run an Ember CLI app. Unfortunately, I then discovered Windows is abysmally slow at compiling the Ember CLI stuff. There’s an npm package to help, but it was still pretty painful for me after that…but at least it was working.
I’m still trying to remember exactly why I embarked on this near-Sisyphean experience—I had a MacBook Pro within arm’s reach on which I develop most of my Ember apps—but I hope documenting my painful journey will help yours be less so. Happy Embering!